Skull Hood: A Designer’s Real-World Embroidery Review
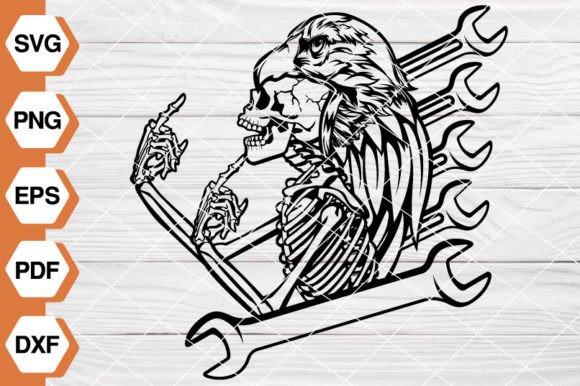
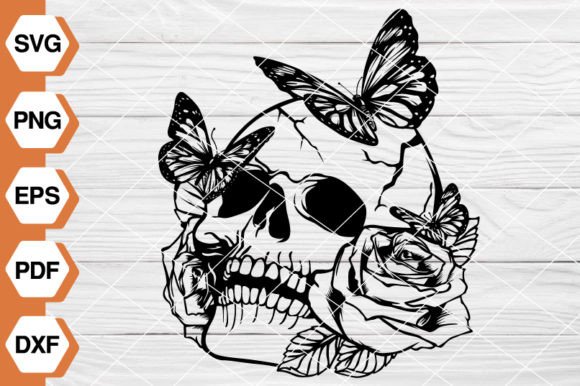
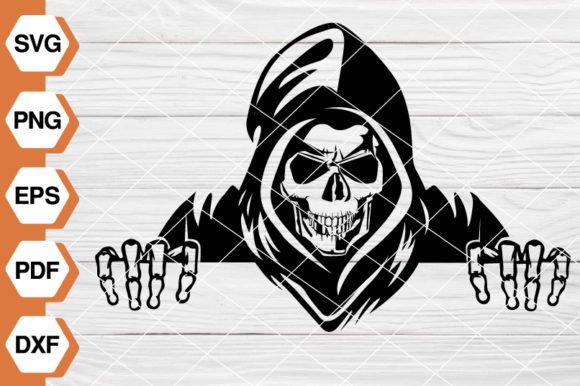
Let’s be honest—I opened Skull Hood expecting something edgy but safe. What I found was sharper, bolder, and far more versatile than the thumbnail suggested. As someone who’s stitched hundreds of custom pieces for Etsy shops, boutique apparel lines, and holiday gift collections, I don’t just scan files—I *feel* them. And Skull Hood has presence. It’s not cartoonish or cutesy; it’s confident, clean-lined, and built with intention. Think vintage tattoo meets modern minimalist—skull shape strong, hood framing it like a subtle halo, no clutter, no filler. That kind of restraint is rare in digital embroidery files labeled “graphics” or “illustrations,” and it makes all the difference when you’re stitching on real fabric.
First Impressions: Mood, Scale, and Stitch-Ready Clarity
The moment I loaded the SVG into my digitizing software, I noticed how well the outlines hold weight—even at small sizes. No jagged edges, no unintended gaps. The hood wraps the skull without overlapping or bleeding into negative space, which means fewer stitch corrections later. This isn’t a design that relies on heavy fill stitches to carry its impact. It leans into silhouette, contrast, and balance—and that translates directly to cleaner embroidery results. On a soft cotton tote bag? It reads instantly. On a charcoal sweatshirt? It pops without shouting. On a baby onesie? Surprisingly gentle—because the lines are smooth, not spiky, and the proportions feel grounded, not aggressive.
Where Skull Hood Shines (and Where It Needs Care)
I tested Skull Hood across three real projects: a unisex crewneck sweatshirt for a local coffee shop’s merch line, a set of linen tea towels for a holiday craft fair, and a small embroidered patch for a teen’s denim jacket. Here’s what held up—and where I paused:
- Custom apparel: Worked beautifully on midweight fleece and cotton blends. The design’s width fits comfortably inside a 4×4 hoop, and the stitch density feels moderate—not so light it fades, not so dense it puckers.
- Tote bag design: Perfect scale for center-chest or lower-back placement. The clean lines kept crisp even on textured canvas—no need for ultra-heavy stabilizer, just medium tear-away.
- Baby embroidery: Used it on a light gray knit onesie with soft water-soluble topping. Result? Subtle but distinctive—parents loved the “cool-but-not-scary” vibe. Just avoid tight curves near neckbands unless you resize slightly.
- Embroidered patch: Cut cleanly from twill, fused well, and held up after two wash cycles. The outline stayed sharp—no fraying at corners.
But here’s where attention matters: Skull Hood doesn’t forgive stretchy fabrics without proper stabilization. Tried it on a lightweight jersey tee without cutaway backing—stitch distortion appeared around the hood’s lower curve. Also, on dark fabric, I recommend testing thread colors first: black-on-black loses definition, while charcoal or deep navy thread adds quiet sophistication. And if you’re planning Skull Hood for caps or curved surfaces, confirm your hoop can handle the arc—or simplify the bottom edge manually before stitching.
What This Design Says About Your Finished Product
When customers see Skull Hood on a handmade item, they don’t just register “skull.” They register *intention*. That matters—especially for Etsy sellers and small shop owners building brand trust. A sloppy or overly busy skull says “clip art.” Skull Hood says “designed.” It elevates a plain sweatshirt into curated streetwear, turns a kitchen towel into a conversation starter, and gives personalized gifts an air of thoughtful craftsmanship. I’ve watched buyers linger longer on listings featuring this kind of visual confidence—it boosts perceived value, encourages repeat visits, and supports higher price points without feeling unjustified.
Practical Notes Every Embroidery Designer Should Check
Before you drop Skull Hood into your next project, take five minutes to do these:
- Test the design on scrap fabric matching your final product’s weight and stretch.
- Review stitch density in your embroidery software—look for tight clusters near the hood’s inner fold; adjust if needed.
- Confirm hoop size compatibility—this design fits standard 4×4 and 5×7 hoops, but verify before hooping expensive garments.
- Inspect small details at 200% zoom: check for stray anchor points or thin vectors that may break in satin stitch.
- Mock it up in black and white first—see how it reads on light vs. dark backgrounds before choosing thread colors.
- Use appropriate stabilizer: medium cutaway for knits, tear-away for stable wovens, water-soluble for delicate linens.
- Double-check licensing terms—if you plan to sell finished products or resell digital embroidery files, ensure commercial use is permitted.
Also worth noting: the included file formats—SVG, PNG, EPS, PDF, DXF—are genuinely useful. SVG and EPS hold up in vector editors for resizing; PNG works for print mockups; PDF helps with client approvals; DXF integrates smoothly with some CAD-based embroidery prep tools. All files are welded together, meaning no accidental separation of layers during import—a small detail, but one that saves time and avoids misalignment headaches.
A Final Thought for Creative Entrepreneurs
Skull Hood isn’t just another machine embroidery design—it’s a reliable, mood-forward asset for makers who care how their work lands. It bridges playful and polished, bold and wearable. Whether you’re designing for a niche apparel brand, stocking a holiday pop-up, or building a cohesive line of embroidered home goods, this illustration earns its place in your design assets library. Just remember: great files don’t replace good process. Test, tweak, and treat every stitch like it represents your name—because on a handmade tote, a baby onesie, or a limited-run sweatshirt, it does.